
Baking is an enchanting experience, especially when it involves beloved characters like the Lorax from Dr. Seuss. These whimsical cookies not only celebrate the delightful spirit of the Lorax but also provide an enjoyable activity for people of all ages. In this guide, we will explore the best Lorax cookie recipe, including essential ingredients, step-by-step instructions, creative decorating ideas, and engaging themed activities. Whether you’re a seasoned baker or a novice, this recipe promises to be a delightful experience for everyone!
The Lorax is a character created by Dr. Seuss who is known for speaking for the trees and advocating for the environment. This charming figure inspires a cookie recipe that promotes fun, creativity, and sustainability. The best Lorax cookies are not merely delicious treats; they also symbolize a commitment to environmental awareness, making them perfect for baking sessions that teach children about nature.
Furthermore, baking can be an excellent bonding experience. As you create these cookies, you’ll enjoy the process while encouraging creativity and learning in a fun atmosphere.
Table of Contents
- Why Choose Lorax Cookies?
- Essential Ingredients for the Best Lorax Cookies
- Step-by-Step Instructions for Making the Best Lorax Cookies
- Creative Decorating Ideas for Lorax Cookies
- Themed Events and Activities Around Baking
- Frequently Asked Questions (FAQs) About the Best Lorax Cookies
- Bake the Best Lorax Cookies Today!
Why Choose Lorax Cookies?
Lorax cookies are more than just a sweet treat; they provide an opportunity to spark conversations about important topics such as environmentalism and sustainability. By engaging children in discussions about the Lorax’s message, you can instill values that foster respect for nature and promote a love for the environment. This is particularly important in today’s world, where environmental awareness is crucial.
Additionally, the fun shapes and colors associated with these cookies make them appealing to children and adults alike. Whether you’re celebrating a birthday, hosting a themed party, or simply enjoying a rainy day at home, the best Lorax cookies are a perfect choice.
Essential Ingredients for the Best Lorax Cookies
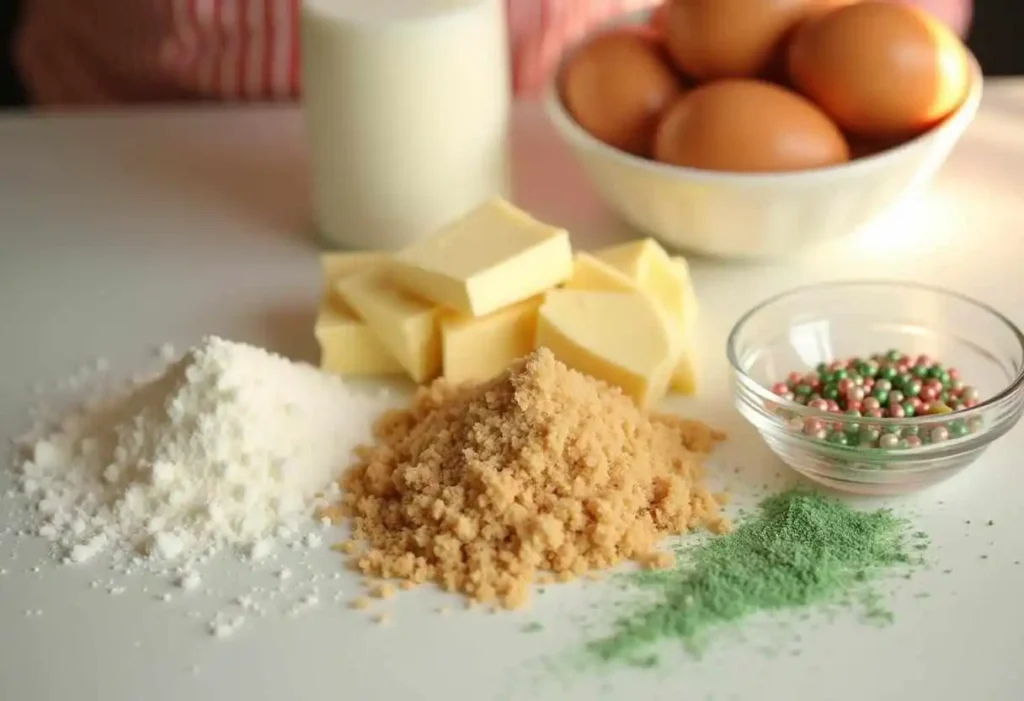
Before you embark on this baking adventure, gather all your ingredients. Below is a comprehensive table detailing what you’ll need for the best Lorax cookies:
| Ingredient | Quantity |
|---|---|
| All-purpose flour | 2 ½ cups |
| Granulated sugar | 1 cup |
| Brown sugar | ½ cup |
| Unsalted butter | 1 cup (softened) |
| Eggs | 2 large |
| Baking soda | 1 teaspoon |
| Baking powder | 1 teaspoon |
| Vanilla extract | 2 teaspoons |
| Salt | ½ teaspoon |
| Green food coloring | 1-2 teaspoons |
| Sprinkles (optional) | For decoration |
| Edible glitter (optional) | For decoration |
Total Time Required for Lorax Cookies
- Prep Time: 15 minutes
- Cook Time: 10-12 minutes
- Total Time: 30 minutes
Estimated Calories for Lorax Cookies
Each cookie contains approximately 120 calories (calories may vary depending on the size of the cookies and specific ingredients used).
Step-by-Step Instructions for Making the Best Lorax Cookies
With your ingredients ready, let’s dive into the step-by-step instructions for creating these delightful cookies. Follow these straightforward steps to ensure your cookies turn out perfectly every time!
1: Prepare the Dough
- Preheat Your Oven: Begin by preheating your oven to 350°F (175°C). This ensures even baking and perfect texture.
- Mix the Dry Ingredients: In a separate bowl, whisk together the flour, baking soda, baking powder, and salt. Set this mixture aside for later use.
- Cream the Butter and Sugars: In a large mixing bowl, cream the softened unsalted butter, granulated sugar, and brown sugar. Beat these ingredients together until the mixture is light and fluffy, which typically takes about 3-5 minutes with an electric mixer.
- Incorporate Eggs and Vanilla: Add the eggs one at a time, mixing well after each addition. Following this, pour in the vanilla extract, blending everything until smooth.
2: Combine the Ingredients
- Incorporate the Dry Mixture: Gradually add the dry ingredients to the butter mixture. Stir until just combined, being careful not to overmix, as this can result in tougher cookies.
- Add Food Coloring: Divide the dough in half. In one half, incorporate the green food coloring until you achieve your desired shade. Mix thoroughly to ensure even color distribution.
3: Shape the Cookies
- Chill the Dough: For easier handling, chill the dough in the refrigerator for approximately 15 minutes. This helps the cookies maintain their shape during baking.
- Roll and Cut the Cookies: Roll the green dough into small balls (about 1 inch in diameter) and place them on a baking sheet lined with parchment paper. Gently flatten each ball. You can also use cookie cutters to create fun shapes related to the Lorax theme, such as trees or mustaches.
4: Bake the Cookies
- Bake: Place the cookies in the preheated oven and bake for 10-12 minutes or until the edges turn lightly golden. Keep a close eye on them to prevent overbaking. After removing them from the oven, allow the cookies to cool on the baking sheet for a few minutes before transferring them to a wire rack to cool completely.
Creative Decorating Ideas for Lorax Cookies
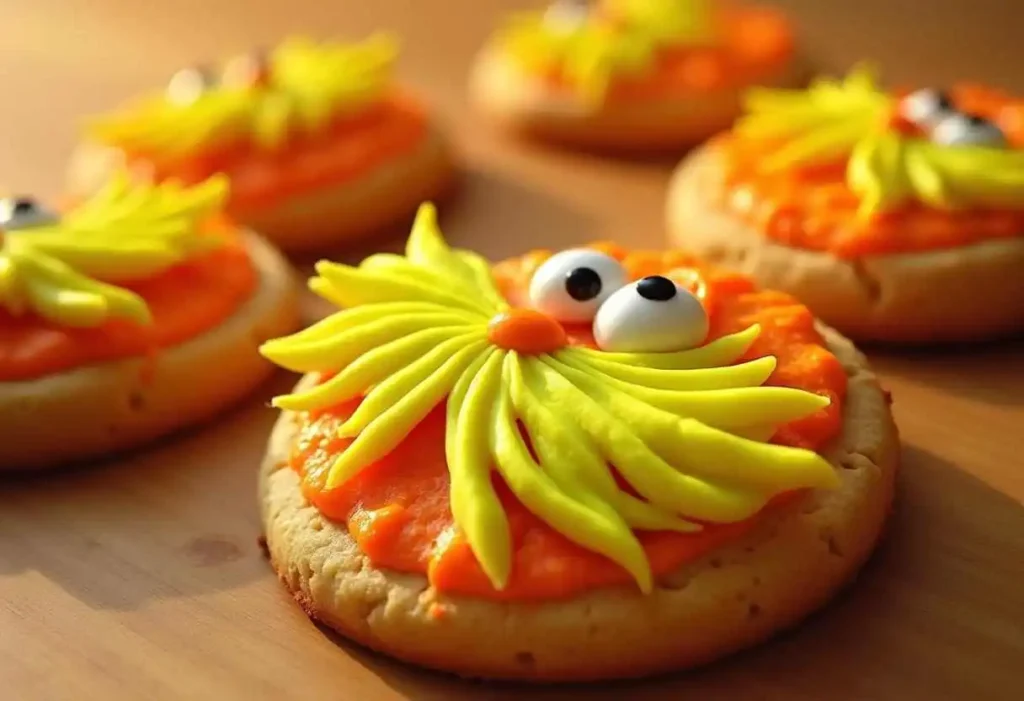
Once your Lorax cookies have cooled, it’s time to unleash your creativity through decorating! Here are several fun ideas to bring your cookies to life:
1. Lorax Character Design
- Frosting: Use orange frosting to create the Lorax’s mustache and eyebrows. Pipe the mustache directly onto the cookie for a fun effect. Consider using a piping bag or a zip-top bag with the corner snipped for better control.
- Eyes: Create the Lorax’s eyes using small candies or chocolate chips. You can add a dot of white frosting in the center of each chocolate chip to enhance the look.
2. Nature-Themed Decorations
- Green Sprinkles: Decorate with green edible glitter or sprinkles to represent the trees that the Lorax works to protect. Alternatively, use crushed nuts or green coconut flakes for added texture.
- Candy Trees: Use mini pretzels dipped in chocolate to form tree shapes, placing them next to your cookies for a whimsical display. Green candies can act as “leaves” on the pretzel trees.
3. Whimsical Touches
- Colorful Icing: Use various colored icing to create flowers, clouds, and other elements inspired by the Lorax story. Mixing colors can yield unique shades, while gel food coloring delivers vibrant hues.
- Food Safe Markers: Edible food markers are perfect for drawing fun faces or patterns on the cookies, allowing kids to personalize their treats.
4. Cookie Gift Boxes
- Presentation: Consider packaging your Lorax cookies in themed gift boxes or bags. This not only makes them visually appealing but also creates a lovely gift for friends and family. You can decorate the boxes with drawings of trees or quotes from the book, making it an ideal way to share your baking with others.
Themed Events and Activities Around Baking
Baking the best Lorax cookies can serve as part of a more extensive event or activity. Here are several engaging ideas to enhance your baking experience:
1. Lorax-Themed Baking Party
Consider hosting a baking party where friends and family can come together to bake and decorate cookies. Provide a variety of toppings and decorations for everyone to enjoy. This social aspect makes the baking process even more enjoyable!
2. Nature Crafts
Incorporate crafts into your baking day. After baking, spend time creating nature-inspired crafts such as leaf rubbings or painted rocks to further celebrate the Lorax’s environmental message.
3. Read-Aloud Session
Enhance your baking experience by pairing it with a read-aloud of “The Lorax.” This engaging activity ties the story back to the cookies and encourages meaningful discussions about environmental responsibility.
4. Cookie Decorating Contest
Make the baking event even more exciting by organizing a cookie decorating contest! Guests can showcase their creativity, and you can award prizes for the most imaginative designs. Categories might include “Most Colorful,” “Best Lorax Representation,” and “Most Whimsical.”
5. Environmental Awareness Activities
Take this opportunity to discuss the importance of protecting our environment. Organize fun activities that teach children about recycling, planting trees, or simple actions they can take to help the planet. Engaging children in conversations about their impact on the environment reinforces the Lorax’s message.
Frequently Asked Questions (FAQs) About the Best Lorax Cookies
1. Can I make the dough ahead of time?
Certainly! You can prepare the cookie dough in advance and store it in the refrigerator for up to 3 days. Be sure to allow it to reach room temperature before rolling and cutting the cookies.
2. Can I freeze Lorax cookies?
Yes! Once baked, the cookies can be frozen for up to 3 months. Allow them to cool completely, then place them in an airtight container or freezer bag. Thaw them at room temperature before serving for the best taste.
3. What can I use instead of food coloring?
If you prefer not to use artificial food coloring, consider natural alternatives such as beet juice or spinach puree for coloring the dough. These options add a unique twist to
your cookies and keep them natural.
4. Are there gluten-free options available?
Absolutely! You can substitute all-purpose flour with gluten-free flour blends designed for baking. Ensure that the other ingredients, such as baking powder and baking soda, are also gluten-free.
5. Can I customize the flavors?
Definitely! Experiment with different extracts, such as almond or lemon, to create unique flavors. You can also add mix-ins like chocolate chips, nuts, or dried fruits to the dough for additional flavor and texture.
Bake the Best Lorax Cookies Today!
Baking the best Lorax cookies is not only a delightful culinary adventure but also an opportunity to teach children about creativity and environmental awareness. With simple ingredients, easy-to-follow instructions, and limitless decorating possibilities, these cookies can become a cherished family tradition.
We encourage you to gather your friends and family, share your cookie-making experiences, and celebrate your creations. Remember, baking is all about enjoying the journey, so embrace the creativity and joy that comes with it. As you gather in the kitchen, recount stories about the Lorax and create delicious cookies that inspire appreciation for nature.
Now that you have everything you need to create the best Lorax cookies, it’s time to start baking! Gather your ingredients, invite friends or family, and enjoy creating eco-friendly treats that everyone will adore. Don’t forget to share your cookie masterpieces on social media using the hashtag #LoraxCookies. We can’t wait to see your vibrant designs and imaginative decorations!
If you enjoyed this recipe, explore more fun baking ideas on our blog and subscribe for updates on new recipes and baking tips. Happy baking!